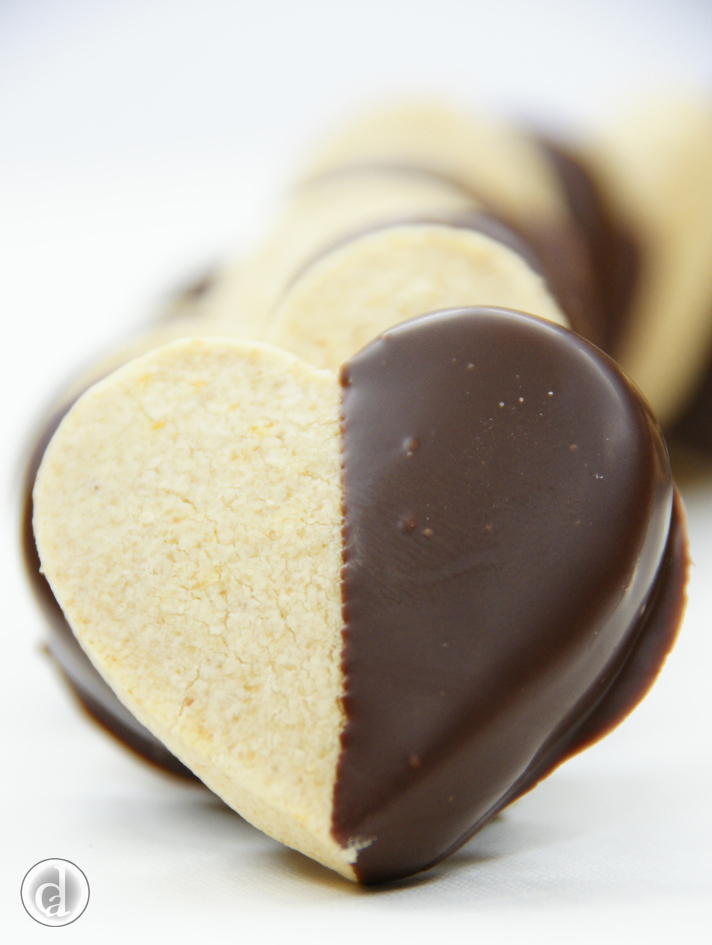
Orange Shortbread Too

I love shortbread - if there are shortbreads and big cookies on a plate I'll go for the shortbread. Orange Shortbread using besan flour were one of my first bikkies I made for Decadent Alternatives back in 2004, this recipe uses Bakers' Magic gluten free flour.
This recipe was designed specifically to be made with Bakers' Magic gluten free flour. The finished baked product will not be the same if you use another gluten free flour and you will need to adjust the recipe, particularly if the flour you're using contains rice flour.
Ingredients
200 g Bakers' Magic Gluten free flour
125 g Butter (chopped & cold)
40 g Icing sugar (sifted)
Zest of 1 orange
Extra Bakers' Magic Gluten free flour
~200 g Dark chocolate (for dipping)
Method
Zest the orange.
Thermomix
Place all ingredients into the TM bowl.
Mix for 1 min 15 sec at speed 4.
The mixture should just come together as a dough.
Stand Mixer
Cream together the butter, icing sugar & orange zest.
Add to the creamed mixture the flour mix.
On a low speed mix together all ingredients until the dough just comes together.
Rolling out the dough
Put the dough on a sheet of baking paper. Bring it together with your hands. If you need to, kneed the dough to incorporate any remaining flour. If the dough is sticky add a little of the extra Bakers' Magic Gluten free flour to it. Kneed the dough to incorporate the extra flour. The dough should be ready to roll out.
Place dough between two sheets of baking paper. To ensure the shortbread is even in thickness follow this tip. Find four placements (dinner setting) place two of them on top of each other on either side of the dough (Two of my placemats are 8 mm high). The placemats can be on top of or underneath the pieces of baking paper. I find it easier to work with the dough when it is between two sheets of baking paper. When rolling out the dough ensure the rolling pin is wide enough to span the dough and part of the two top placemats. My rolling pin is large – 61 cm from handle to handle. Initially when rolling the pin may not necessarily rest on the placemats, however, when the dough is the same thickness as the placemats it will. At this stage the dough should be all the same thickness. Put the dough (still in between the baking paper) onto a flat tray and put it into the fridge for approximately 10 mins - it is better if the dough is not too cold.
Cutting & Cooking
Turn the oven on to 140o C.
Line a tray with baking paper.
Bring out the cold dough. Gently lift off the top piece of baking paper, put it back down on the dough. Holding on to both sheets of baking paper on both sides of the dough gently flip the dough over. Lift off the top piece of baking paper - do not discard.
Using a cutter of your choice cut out the shortbread and place them on a baking tray. For the Orange Shortbread pictured above I used a heart shape cutter (it was 40 mm at its widest point). When you have cut out as many shapes as possible bring the dough together, kneed it a little and roll it out again between the two sheets of baking paper. Continue cutting out shapes in the newly rolled dough. If the dough is cold enough the shapes will still be easy to pick up & transfer to the baking tray. Repeat until you can't cut out any more shapes.
The length of time required to bake the shortbread will depend on the size of the cutter you have used & your oven. The cutter I used produced 31 hearts that were ~11 g each. I baked these for 30 mins.
Remove biscuits from the oven & allow to cool completely before dipping them in chocolate.

Dipping the Shortbread
The Shortbread hearts are less likely to break if they are cool. If your kitchen is warm put the biscuits in the fridge for a little before dipping them.
Line a tray with baking paper. Alternatively take the shortbread off the tray & reuse the paper, brushing off any crumbs.
Melt the dark chocolate in a container big enough to dip the biscuits.
Holding one half of the biscuit dip the other end into the molten chocolate.
Hold it over the bowl to allow excess chocolate drip off. Gently scrape the underside of the biscuit on the side of the bowl.
Gently transfer the biscuit to a tray.
Repeat with the remaining biscuits.
The amount of chocolate required will depend on the size of the biscuit & how thickly it is coated.
What to do if you have chocolate left over; store it for next time, add a little warmed cream to make a truffle mix, add a little oil to make Magic Chocolate Topping with its variety of uses.
