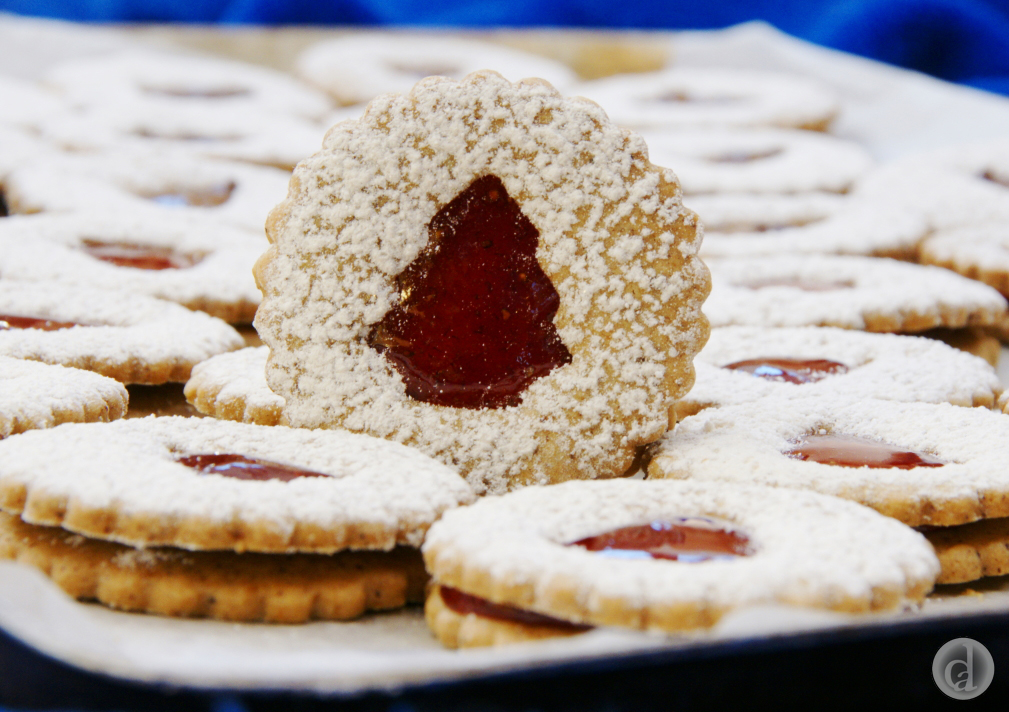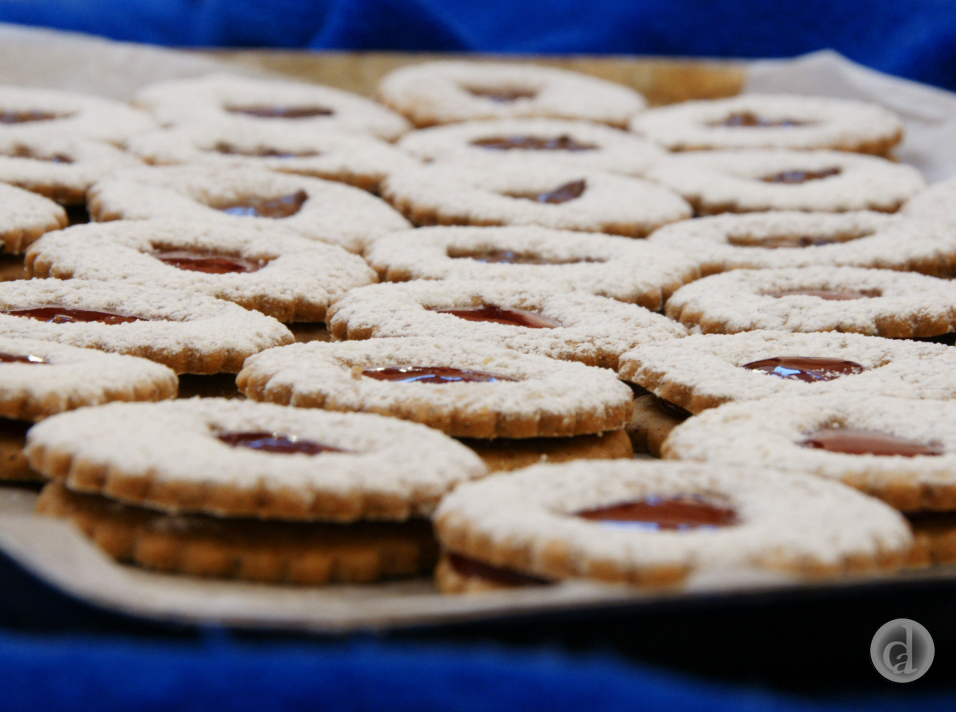
I was in a kitchen shop & I saw a set of cute Christmas cookie cutters. After buying them I realised there was a recipe for Linzer cookies included & of course I had to convert the recipe to gluten free. The recipe for the Austrian Linzer Torte dates back to the 1600's. It's a simple tart consisting of short pastry made of flour, ground nuts, butter, egg, lemon zest, cinnamon & lemon juice. The tart is filled with berry preserves & topped with a lattice of pastry. Linzer cookies are a wonderful simplified version of this traditional Austrian tart.
This recipe was designed specifically to be made with Bakers' Magic gluten free flour. The finished baked product will not be the same if you use another gluten free flour and you will need to adjust the recipe, particularly if the flour you're using contains rice flour.
You will need a cookie cutter & a smaller cutter for the middle. A set that allows you to combine both at the same time is ideal.
Makes 30 sandwiched cookies.
Ingredients
190 - 215 g Bakers' Magic Gluten free flour**
100 g Nut meal (hazelnut, almond, walnut)
110 g Butter
90 g Caster sugar
1 Egg
1 tsp Vanilla
1/2 tsp Baking powder
1/2 tsp Cinnamon
1 tsp Lemon zest
Pinch of salt if using unsalted butter
*The amount of flour will be dependent on the type of nut you use, the filling (jam or chocolate, how runny the jam is) and how short you like the cookies (my preference is 200 g with hazelnut meal).
Strawberry, raspberry or other berry jam
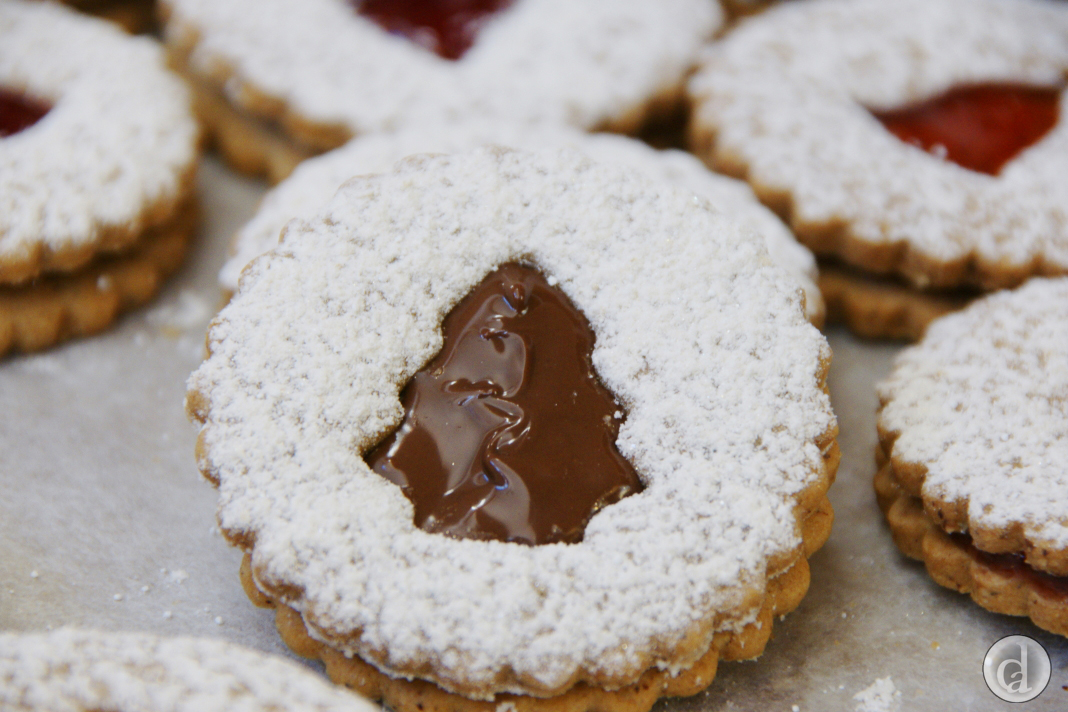
I have also used a 50:50 Nutella & chocolate mix
Icing sugar to dust

Method
Mix together the dry ingredients - Bakers' Magic gluten free flour, cinnamon, baking powder & salt (if you are using it). Set aside.
Stand Mixer
Cream together the butter, sugar, vanilla & zest.
Add in the egg & beat until creamy.
Mix in the dry ingredients.
Thermomix
Place the sugar, butter, egg, vanilla & zest in the TM bowl.
Mix for 3 mins @ 37o C at speed 4.
Pour wet ingredients onto dry ingredients & mix with a wooden spoon/spatula.
Both
Take approximately 1/3rd of the mixture and roll it out between two sheets of baking paper to a thickness of 3 mm. To ensure the dough is an even thickness follow this tip. Find 2 pieces of cardboard (2-3 mm thick) place one on either side of the dough. I have thrown away my cardboard pieces & now have stainless steel spacers 1 mm, 2 mm & 3 mm thick - they are much easier to clean. When rolling out the dough ensure the rolling pin is wide enough to span the dough and part of the top of the cardboard/spacers. My rolling pin is large – 61 cm from handle to handle. Initially when rolling the pin may not necessarily rest on the cardboard/spacer, however, when the dough is the same thickness as the cardboard it will. At this stage the dough should be all the same thickness.
Transfer rolled dough in the baking paper to a baking tray.
Repeat with the rest of the dough.
Refrigerate rolled dough for ~30 mins or until the dough is stiff.
Turn oven on to 150o C.
Bring one of the rolled dough pieces out. Lift off the top piece of baking paper & then put it back on, flip over the dough & remove the other piece of baking paper (now on the top).
Use the top piece of baking paper to line a baking tray.
Use the cutter (without the middle cutter) to make as many "bottom biscuits" as possible.
Bring out another piece of the dough & repeat with the cutter (with the middle cutter in use) for the "top biscuits". Ensure you have the same number of tops & bottoms. Cut out more tops & bottoms from the remaining dough if there is more space on the baking trays.
Bake in the oven for ~15 mins. Turn the trays halfway through cooking if your oven has a hot spot.
While the biscuits are baking combine the dough scraps & roll it out again between 2 sheets of baking paper. Refrigerate.
Bring the baked tops & bottoms out of the oven & allow to cool before storing them in an airtight container.
Use the remaining dough to cut out an equal number of tops & bottoms. Bake, cool & store.
Assembling
If you are going to sandwich the tops & bottoms together with jam it is best to fill the cookies either the day before or the day that you are going to serve them. The cookies will soften over time & they are not as nice as ones just made.
The cookies can be filled days ahead if you fill them with a chocolate/nutella mix or Magic Chocolate Topping. The chocolate won't soften the cookie, provided they are stored in an air tight container.
Put the cookie tops on to a baking tray & lightly dust with icing sugar. When I made these at Christmas time I put some edible gold dust in with the icing sugar to make them sparkle a little.
Put the cookie bottoms on a baking tray. Place a dollop of jam in the centre of each bottom cookie & gently place a top over the jam. Store in an airtight container.
Simply enjoy!

